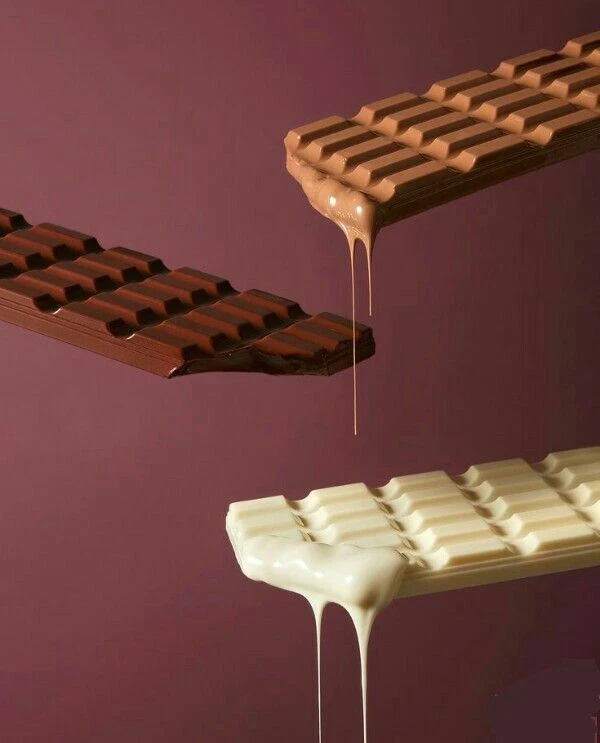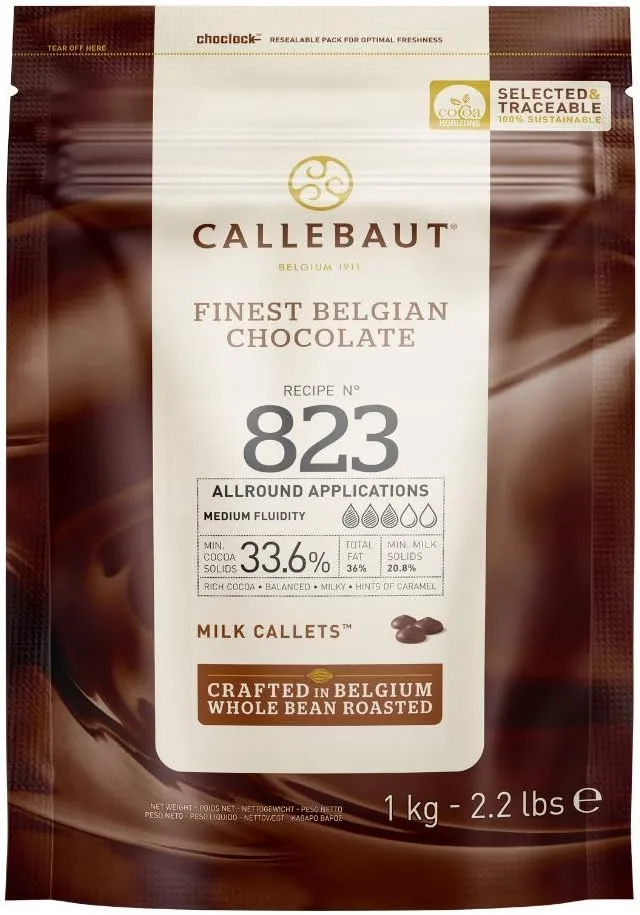
Milk chocolate is one of the most beloved varieties of chocolate worldwide. Creamy, sweet, and rich, it embodies the perfect balance between cocoa’s robust flavor and the sweetness of milk. Its popularity spans across continents, whether enjoyed on its own, used in baking, or as a key ingredient in a variety of desserts and confections.
Making milk chocolate from scratch is not only an art but also a deeply rewarding experience. While it may seem like a complex process, with the right tools and ingredients, anyone can create this decadent treat at home. This article will walk you through the fascinating history of milk chocolate, break down its essential components, and provide an in-depth recipe with a step-by-step guide to making your own milk chocolate from scratch. By the end, you’ll have a new appreciation for every delicious bite.
The Origins of Milk Chocolate
Before diving into the recipe, it’s important to understand the origins of milk chocolate. Chocolate has a long history, beginning with the ancient civilizations of Central America, including the Mayans and Aztecs. However, what they consumed was a far cry from the sweet treat we know today. Their chocolate, made from ground cacao beans, was served as a bitter, frothy beverage mixed with spices and chili.
It wasn’t until chocolate was brought to Europe in the 16th century that sugar began to be added, transforming it into a more palatable product. The introduction of milk into chocolate came centuries later. In 1875, a Swiss chocolatier named Daniel Peter developed the first milk chocolate by combining cacao with powdered milk developed by Henri Nestlé. This innovation marked the birth of milk chocolate, which quickly became a sensation across Europe and beyond.
The Essential Ingredients of Milk Chocolate
Milk chocolate, in its simplest form, consists of a few key ingredients:
1. Cocoa Butter: This is the fat derived from cocoa beans and gives chocolate its smooth, creamy texture. High-quality cocoa butter is essential for creating a luxurious mouthfeel in milk chocolate.
2. Cocoa Liquor or Cocoa Powder: Cocoa liquor (also known as chocolate liquor) is the combination of cocoa solids and cocoa butter, and it forms the basis of all types of chocolate. Alternatively, cocoa powder (which contains mostly cocoa solids and a small amount of cocoa butter) can be used.
3. Sugar: Sugar balances out the bitterness of the cocoa, making chocolate sweet and enjoyable. The amount of sugar can be adjusted depending on personal preference.
4. Milk Solids or Powdered Milk: This is what distinguishes milk chocolate from dark or white chocolate. Milk solids, usually in the form of powdered milk, add creaminess and enhance the overall flavor.
5. Lecithin: This is an emulsifier that helps blend the ingredients together, ensuring a smooth, even texture. Soy lecithin is the most common type used in chocolate-making.
6. Vanilla: Often added for flavor, vanilla complements the richness of chocolate and enhances its complexity.
With these ingredients in hand, you’re ready to embark on the journey of making milk chocolate from scratch.
Equipment Needed
Before you start, it’s important to gather the right equipment. Some of these tools are essential, while others can help enhance the quality of your chocolate:
1. Double Boiler: This is crucial for melting chocolate gently without burning it. You can use a heatproof bowl set over a pot of simmering water if you don’t have a dedicated double boiler.
2. Thermometer: Chocolate must be tempered to achieve the right consistency and glossy finish, which requires precise temperature control.
3. Chocolate Molds: While optional, molds allow you to create beautifully shaped chocolate bars or pieces.
4. Spatula: A silicone or rubber spatula is ideal for stirring the mixture and scraping down the sides of the bowl.
5. Grinder or Melanger: For those who want to achieve professional-level chocolate, a grinder or melanger can be used to grind cocoa nibs into a fine paste. However, this is not required for basic home chocolate-making.
Step-by-Step Milk Chocolate Recipe
Ingredients:
100 grams cocoa butter
50 grams cocoa powder or 70 grams cocoa liquor
100 grams powdered milk
75 grams granulated sugar (or to taste)
1 teaspoon lecithin (optional)
1 teaspoon vanilla extract or the seeds from 1 vanilla bean
Pinch of salt (optional)
Step 1: Melt the Cocoa Butter
Begin by setting up your double boiler. Fill the bottom pot with water, and place it on medium heat. Add the cocoa butter to the top pot or a heatproof bowl placed over the simmering water. Gently melt the cocoa butter, stirring occasionally to ensure it doesn’t overheat. The ideal temperature for melting cocoa butter is around 104°F (40°C).
Step 2: Combine the Cocoa Powder and Sugar
Once the cocoa butter has fully melted, gradually add the cocoa powder (or cocoa liquor if using) and sugar. Stir continuously until the mixture is smooth and fully combined. If using granulated sugar, you’ll need to ensure it dissolves completely, which may take some time. For an even smoother texture, some chocolatiers prefer to use superfine sugar or powdered sugar, which dissolves more easily.
Step 3: Add the Milk Powder
Next, slowly add the powdered milk into the chocolate mixture, stirring constantly to avoid clumping. Milk powder is essential to creating the signature creamy flavor of milk chocolate. If the mixture starts to look too thick, you can add a small amount of cocoa butter to loosen it.
Step 4: Incorporate Lecithin and Vanilla
For a smooth texture and consistency, add the lecithin at this stage. Lecithin helps emulsify the ingredients, ensuring they blend well together. Afterward, add the vanilla extract or seeds from the vanilla bean, which will enhance the overall flavor of the chocolate.
Step 5: Temper the Chocolate
Tempering chocolate is a crucial step to ensure it sets properly with a glossy finish and satisfying snap. Without tempering, the chocolate may have a dull appearance and crumbly texture. To temper the chocolate, you’ll need to cool and reheat it to specific temperatures.
1. Cool the Chocolate: Once everything is well combined, remove the bowl from the heat and let the chocolate cool to about 82°F (28°C). Stir the chocolate frequently as it cools to distribute the cocoa butter crystals evenly.
2. Reheat the Chocolate: After the chocolate has cooled, gently reheat it to around 88°F to 90°F (31°C to 32°C). Be careful not to overheat the chocolate, as this can ruin the temper.
If you don’t have a thermometer, you can attempt to temper by sight and feel, though this is more difficult. Well-tempered chocolate should have a smooth, glossy appearance when poured.
Step 6: Pour and Set the Chocolate
Once your chocolate is properly tempered, it’s time to pour it into molds. You can use silicone or plastic molds to create chocolate bars, individual pieces, or even fun shapes. If you don’t have molds, you can simply pour the chocolate onto a flat, parchment-lined surface and spread it out evenly.
After pouring, lightly tap the molds on a flat surface to remove any air bubbles. Allow the chocolate to set at room temperature or in a cool place (avoid the fridge unless absolutely necessary, as this can affect the texture). It will take a few hours for the chocolate to harden completely.
Step 7: Unmold and Enjoy!
Once the chocolate has fully set, carefully remove it from the molds. Your homemade milk chocolate should have a beautiful sheen and snap when broken. Store it in a cool, dry place in an airtight container, and enjoy your chocolate creation!
Customizing Your Milk Chocolate
One of the greatest benefits of making milk chocolate at home is the ability to customize it to your liking. Here are a few ideas to inspire you:
1. Flavor Infusions: You can add a variety of flavors to your chocolate. For example, add a touch of cinnamon, chili powder, or coffee to the cocoa mixture for a unique twist. For a floral note, try incorporating a few drops of rose or lavender extract.
2. Nuts and Fruit: Mix in chopped nuts, dried fruits, or seeds to create a textured chocolate. Almonds, hazelnuts, dried cranberries, or even toasted coconut can provide delightful contrasts in flavor and texture.
3. Sweeteners: Instead of using granulated sugar, you can experiment with other sweeteners such as honey, agave syrup, or even coconut sugar for a different flavor profile.
4. Sea Salt: A light sprinkle of sea salt on top of the chocolate before it sets can enhance the sweetness and give it a gourmet touch.
Troubleshooting Common Issues
While making chocolate can be a fun and rewarding process, there are a few common issues that may arise:
1. Grainy Texture: This can occur if the sugar doesn’t dissolve properly. Using a finer sugar or powdered sugar can help prevent this.
2. Blooming: Chocolate may develop a white, powdery coating known as bloom. This happens when the cocoa butter separates and rises to the surface, often due to improper tempering or storage. While it doesn’t affect the flavor, it can make the chocolate look unappealing.
3. Overheating: If the chocolate becomes too hot during melting, it can burn and develop a bitter taste. Always melt chocolate gently over low heat or use a double boiler to prevent this.
Conclusion
Crafting your own milk chocolate is a labor of love, but the results are undeniably satisfying. By following this detailed guide, you can create a delicious, homemade version of one of the world’s most popular treats. Whether you enjoy your milk chocolate plain, filled with nuts, or infused with unique flavors, you’ll appreciate the craftsmanship that goes into each bite.

